Do Printables Need Bleed? A Seller’s Print Guide
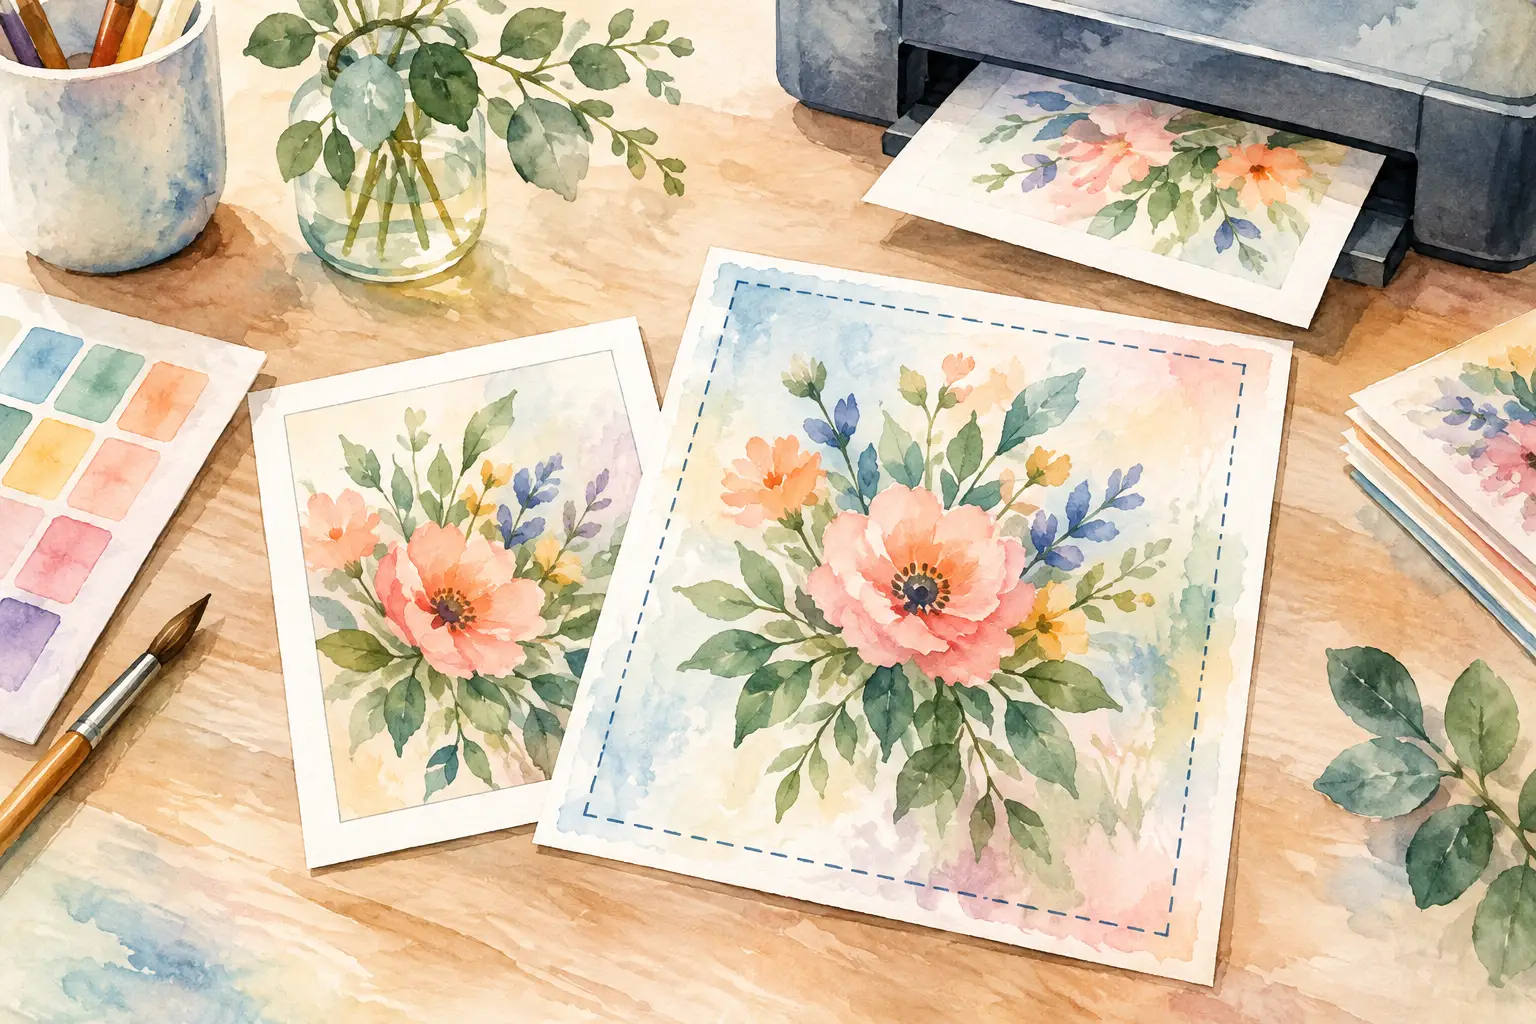
A customer downloads your beautiful 8x10 wall print, sends it to a local print shop, and gets a thin white line around the edge that was never part of your design. That is the problem behind the question, do printables need bleed? The short answer: sometimes. Whether you need bleed depends on how the printable will be used, printed, and trimmed.
For Etsy sellers, the goal is not to add extra technical steps to every file. The goal is to give buyers files that print the way your listing images promise. Once you know which products need bleed and which do not, you can set up your collection correctly from the start instead of fixing complaints one order at a time.
What bleed means for printable products
Bleed is extra artwork that extends past the final cut edge of a printed product. Printers use it because paper can shift slightly during production. After printing, the machine trims the product down to its final size.
A standard bleed allowance is 0.125 inches on every side. For an 8x10-inch final art print, that means the full bleed document measures 8.25x10.25 inches. The background, pattern, or artwork continues into that extra area so the final trimmed piece reaches all the way to the edge.
Bleed is not the same as a margin. A margin protects important content by keeping it away from the edge. Think of it this way: bleed goes outside the cut line; a safe margin stays inside it.
If your design has a full-page watercolor wash, a dark background, a borderless photo, or a repeating pattern, bleed prevents an unwanted white strip after trimming. If your design is a centered quote on a white background, bleed may not matter at all.
Do printables need bleed for Etsy buyers?
Most digital printables do not automatically need bleed just because they are sold on Etsy. They need bleed when the intended printing process includes trimming after printing.
That distinction matters because Etsy buyers print in different ways. Some use a home inkjet printer and place the finished print in a frame. Some upload files to Walgreens, Staples, FedEx Office, or a local photo lab. Others use professional printers for party signs, planner inserts, invitations, stickers, or stationery.
Your job as the seller is to design for the likely use case, then make that use clear in the listing. A single file setup is not always right for every buyer.
When to include bleed
Include bleed when you sell files that are likely to be professionally printed and trimmed, especially if the artwork reaches the edge. This commonly applies to invitations, greeting cards, business cards, gift tags, labels, planner dashboards, junk-journal papers, printable wrapping paper, and borderless wall art intended for print shops.
Bleed is also smart for print-on-demand designs and any product you prepare for a commercial printer. Professional production has small mechanical tolerances. That extra 0.125 inches gives the cutter room to do its job without leaving a hairline border.
For stickers, the answer depends on what you are selling. A transparent PNG sticker design does not need print bleed in the same way a finished sticker sheet PDF does. If you sell a ready-to-print sheet with colored artwork running to the sheet edge, use bleed. If you sell individual PNGs for buyers to upload to a sticker printer or cutting machine, focus on clean edges, transparency, and enough space around the artwork for the buyer’s workflow.
When you can skip bleed
Skip bleed when the final printable is meant to be printed at its exact finished size on a home printer with visible white margins. Many home printers cannot print edge to edge. Adding bleed to a file that buyers print at home can cause scaling, cropping, or confusion when the document does not match the stated size.
You can usually skip bleed for centered wall art on a white background, coloring pages, worksheets, checklists, calendars, planner pages with a white edge, and framed quote prints where the frame covers a small amount of the outside area anyway.
You can also skip it when the design intentionally includes a border. In that case, the border becomes part of the finished look. Just keep it thick enough that a small trimming shift will not make one side look noticeably narrower than the other.
The home-printing trade-off sellers miss
A full-bleed 8x10 file is not automatically an 8x10 file a customer can print at home. If the buyer selects “actual size,” the printer may cut off the extra bleed area. If they select “fit to page,” the printer may shrink the design and leave white borders.
That does not mean you should avoid bleed. It means you should package files for the real printing path.
For a printable invitation or card, offer a print-ready PDF with bleed and trim marks if your buyer is likely to use a print shop. If the same product is also likely to be printed at home, include a separate home-print version sized for standard letter paper with clear cut lines and enough white space around the design.
For wall art, a clean high-resolution JPG at the final aspect ratio is often the simpler choice. Buyers can order the size they need through a photo lab, and labs commonly handle minor edge trimming. If a design has critical details close to the edge, keep those details inside a safe margin anyway. Never rely on bleed to protect a signature, face, text, or decorative border.
How to set up bleed without making files confusing
The easiest production system separates the finished size from the working canvas. Start by deciding what the buyer receives: an 8x10 art print, a 5x7 invitation, US Letter planner pages, or a 12x12 digital paper pack.
Then build the artwork at 300 DPI for the final physical dimensions. If your product needs bleed, add 0.125 inches to all four sides before export. For example, a 5x7-inch card with bleed should be 5.25x7.25 inches. Keep text, logos, faces, and fine details at least 0.125 inches inside the final trim line. For small stationery, a slightly larger safe margin can look even better.
A simple workflow prevents most mistakes:
- Create a working file with a visible trim guide and safe-area guide.
- Extend backgrounds and edge-to-edge artwork beyond the trim guide.
- Export the professional version with bleed when the product will be trimmed.
- Export a separate, clearly labeled home-print version when needed.
File names do more customer support work than most sellers realize. Use names such as “5x7-Print-Shop-Bleed.pdf” and “US-Letter-Home-Print.pdf.” A buyer should not have to guess which file to upload or print.
Bleed for common digital products
Wall art is usually a judgment call. A borderless landscape, abstract print, or full-color nursery art benefits from bleed when sent to a print shop. A minimalist typographic print with a white background generally does not.
Planner inserts and checklists usually do not need bleed because buyers print them on letter or A4 paper, punch holes, and expect a white margin. Keep important elements away from the binding side, which matters more than bleed.
Digital papers and junk-journal pages can benefit from bleed if buyers will print and trim them into cards, ephemera, or collage pieces. A seamless pattern should run beyond the cut edge, while a page designed as a full sheet can remain at standard printable dimensions.
Coloring pages should almost never use bleed. Children and adults need room around the illustration, and home printers handle those files best with a comfortable white edge.
For coordinated product collections, make the technical setup part of your planning, not an afterthought. InkEngine helps sellers create matching visual assets quickly, but the final export should still match the buyer’s print method. A beautiful collection becomes a better product when each file is easy to use the moment it is downloaded.
A quick quality check before you list
Before publishing, print one test copy at home and inspect it at actual size. If the item is designed for a print shop, order or simulate a trimmed proof. Look for text near the edge, uneven borders, artwork that stops too soon, and colors that lose impact when printed.
Your listing description should state the final file size, format, resolution, and whether the file includes bleed. If trimming is required, say so plainly. Clear instructions reduce refund requests and help buyers get the result they came for.
Bleed is not a badge of professional design. It is a practical production choice. Use it when the artwork needs to reach a trimmed edge, skip it when home printing or intentional margins make more sense, and give your buyer the version that makes printing feel easy.
Fill your shop with a matching collection this weekend.
Start your first collectionFree to start. No credit card.