How to Make Printable Sets That Sell on Etsy
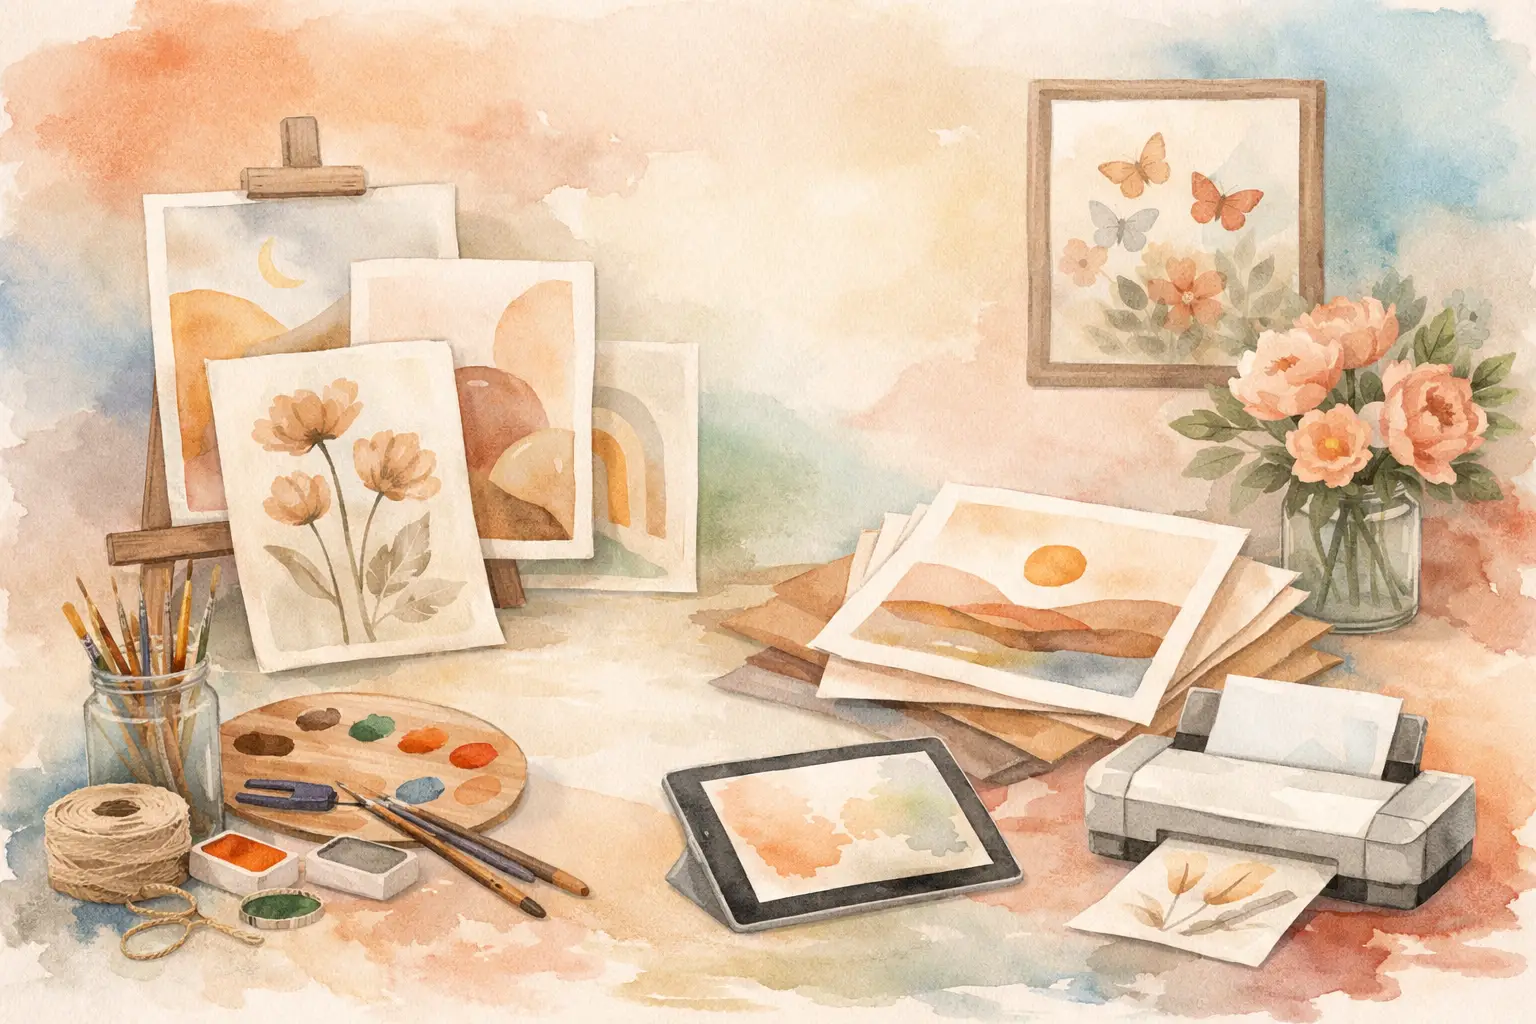
A single pretty printable may earn a sale. A coordinated collection gives shoppers a reason to buy more, save your shop, and come back for the matching pieces. When you make printable sets instead of isolated files, you stop treating every listing like a one-off project and start building inventory that works together.
For Etsy sellers, that shift matters. A customer looking for a woodland nursery print may also want matching clip art, a name sign, a planner cover, and gift tags. If your shop already has the coordinated set, you are not scrambling to create it after the trend has passed. You are ready to list.
Why Printable Sets Outperform One-Off Designs
Printable sets make the shopping decision easier. Instead of asking a buyer to imagine whether several products will match, you show them a finished visual direction: same palette, illustration style, subject matter, and mood. That confidence can raise the perceived value of a digital download, even when the individual files are simple.
They also give your shop more efficient inventory. One concept can become wall art, clip-art elements, journal papers, stickers, coloring pages, and planner covers. These are not copies of the same product. They are formats that serve different buyers and use cases while sharing a recognizable creative foundation.
That does not mean every idea needs to become ten products. Some concepts are strongest as a tight three-piece wall-art set. Others are made for depth, such as a seasonal clip-art bundle with 30 transparent PNGs. The right size depends on what the customer is buying and how much variety the format promises.
The real advantage is operational. You brainstorm once, establish one look, then produce a connected batch. That is far more efficient than opening five separate design projects and trying to recreate the same style from memory.
Start With a Product Family, Not Just an Image Idea
The biggest mistake sellers make is beginning with a vague prompt like “cute floral art.” It may generate a nice image, but it does not tell you what belongs in the collection. Start with a product family instead.
For example, “soft watercolor birth-flower nursery collection” is a business direction. It gives you a customer, a style, a subject, and several obvious formats. You could build a birth-flower name print, a set of botanical wall-art prints, flower clip art, nursery milestone cards, and matching gift tags.
Before generating anything, answer three questions in a sentence or two: Who is this for? What visual promise does it make? Which file formats will make this buyer more likely to purchase?
A teacher shopping for classroom decor needs coordinating posters and labels. A junk-journal buyer wants textured papers, ephemera, and fussy-cut elements. A print-on-demand customer may want clean, bold artwork that reads well on a shirt or tote. The collection should follow the buyer’s project, not your favorite tool.
Choose an Anchor Product
Every strong set needs an anchor product. This is the main item that establishes the look and gives you the clearest listing opportunity. It might be a printable wall-art trio, a 40-piece clip-art bundle, or a set of 12 planner covers.
Build the anchor first, then extend it. If the anchor is a strawberry-themed wall-art set with vintage red and cream colors, the extension products should keep that same visual logic. A sudden neon sticker sheet may technically use strawberries, but it breaks the collection unless you intentionally position it as a separate style line.
How to Make Printable Sets Without Style Drift
Style drift is what happens when the first image feels hand-painted, the second looks like a cartoon, and the third has a completely different color temperature. Buyers notice it quickly. So do you, usually after spending an hour trying to fix it.
The solution is not more complicated prompting. It is establishing a repeatable creative direction before you create variations. Define the core ingredients: subject, art style, palette, composition, background treatment, and level of detail. Keep those fixed while changing only the elements that need variety.
For a celestial baby set, that might mean soft gouache texture, muted navy and warm cream, simple stars and moons, plenty of open space, and no harsh outlines. Your variations can include a moon, a sleepy bear, a cloud, and a star cluster. The customer sees a collection because the visual rules stay in place.
This is where a collection-focused production system saves serious time. InkEngine can take one text direction or reference image and turn it into coordinated visual assets, rather than making you generate each product from scratch and hope they match. You still choose the concept. The repetitive variation work no longer has to consume your weekend.
Plan Variety on Purpose
A set should feel coordinated, not repetitive. Use variety in the subject matter, layout, and product application while keeping the style stable.
For a six-print kitchen wall-art set, you might use different produce, utensils, or short phrases. Keep the same paper texture, border treatment, and palette across all six. For clip art, vary poses and objects: a fox sitting, sleeping, holding a flower, beside a mushroom, and with a tiny backpack. Each file should add something useful to the bundle.
Avoid creating “variety” by adding random details. More elements can make files harder to use, especially for customers who need clean PNGs for invitations, sublimation designs, or stickers. A simple, well-separated subject often has more commercial value than an overly busy illustration.
Finish Files for the Way Customers Actually Use Them
A polished image is not automatically a sellable printable. The finish stage is where you turn artwork into a download that creates fewer buyer questions and fewer refund requests.
Wall art needs the correct dimensions and enough resolution for the advertised print sizes. Clip art often needs transparent PNG backgrounds and clean edges. Journal papers need repeatable visual interest without becoming too dark to print at home. Coloring pages need clear linework and open areas that are actually colorable.
For most printables, 300 DPI is the practical standard buyers expect. It supports crisp home printing and gives your listing a more professional foundation. But resolution is only one part of the job. Check the crop, margins, background, file names, and whether the subject sits too close to the edge.
Think about the customer’s next click. If they download a zip folder, can they tell what each file is? If they print the artwork at 8 x 10 inches, does it look intentional? If they use clip art in Canva or another design app, are the backgrounds truly removed? Small finishing details protect the value of the product you worked to create.
Turn One Collection Into Multiple Etsy Listings
You do not need to force every asset into one giant bundle. Often, the better move is to create a small listing ecosystem around one collection.
A botanical wedding collection could become a clip-art bundle, printable invitation suite, thank-you card template, favor-tag set, and digital papers. A retro holiday collection could become wall art, gift tags, stickers, and a coloring pack. Each listing targets a different search intent, but the matching previews make your shop look organized and trustworthy.
Price and package each format honestly. A three-print wall-art set can be a focused purchase. A large commercial-use clip-art bundle needs enough file count and usable variety to justify the price. Do not inflate a bundle with near-duplicate files just to advertise a bigger number. Shoppers can tell when 50 assets are really five assets in slightly different colors.
Your listing images should show the relationship between products. Lead with the finished set, then show individual pieces, file details, and a clear use example. A buyer should understand what they receive without reading a wall of text.
Build a Production Rhythm You Can Repeat
The goal is not to spend every evening making printables. The goal is to create a workflow that keeps your shop moving even when life is busy.
Choose one collection theme, create the anchor product, generate intentional variations, finish the files, and export them in listing-ready formats. Then move to the next theme. Batch your work by stage when it helps: plan several ideas at once, then generate, then review, then package. This reduces the mental drag of constantly switching between creative decisions and file-management tasks.
Keep a simple record of your collection rules, including palettes, formats, and promising subthemes. When a set sells, you will know how to expand it without starting from zero. When it does not, you can test a new subject or audience without rebuilding your entire process.
Your next bestseller may not be the single image that takes the longest to make. It may be the collection that helps one buyer finish a project, then gives them three more reasons to stay in your shop.
Fill your shop with a matching collection this weekend.
Start your first collectionFree to start. No credit card.